Tips
REFINISHING
Refinishing a hardwood floor is a great way to revitalize the look of a room without having to go to the trouble and expense of installing brand-new flooring. The process involves removing the top layer of the covering material using a sander, which digs down past any scratches, stains, or imperfections that might exist, leaving you with a fresh surface to be stained, painted, or treated with whatever protective coating you prefer.
DIY vs. Hiring a Professional
A professional will charge $3 to $5 per square foot to refinish a hardwood floor depending on the size of the job and the nature of the space and the material.
If you perform the work yourself, then you will have to rent a walk-behind, solid-wood sanding machine as well as hand sanding tools, which will cost roughly $200 per day. Mistakes can also be made, which can irreparably damage the wood flooring surface, requiring costly repairs or a complete reinstallation.
The first step is to completely clean the surface of the floor. It should be swept or vacuumed to thoroughly remove any dust or debris that may be present. A slightly damp mopping, preferably by hand with a cloth rag, may also be useful to get rid of loose particles.
To begin the process of removing the damaged surface layer, use a large walk-behind sander, which can be pushed over the floor using a slow, even pace, to gently grind the wood down to a level that is below any finish treatments or damage. These machines are large and difficult to direct, and it is very important that you employ them in an even motion so that you do not get uneven surfaces, dips, or rises in the installation. The attached vacuum should suck up most of the dust that is generated.
Large machines will not be able to fit in corners or small spaces, so small hand grinders will be necessary to refinish these areas. While much lighter and easier to maneuver, these can be tricky as you have more control and can make more mistakes.
Important Note: Hardwood flooring is often coated in chemical protective layers, which will be removed during the refinishing process. In older houses, these may contain harmful chemicals. Make sure that the environment is properly ventilated before you begin, and wear protective breathing gear and goggles to protect yourself throughout the entire process. Once you have completed sanding the floor using power tools, you can work on any areas that remain using medium-grade sandpaper. This can also help to smooth out any rough patches that may have occurred during the process
Cleaning the Dust
The vacuum attachments included in most power sanders will suck up the majority of the sawdust generated by the refinishing process. However, it is still important to sweep and/or vacuum the room thoroughly before proceeding. Afterward, a tack cloth, which is much like a cheesecloth, can be dampened slightly and run along the floors and walls. Don’t let any water pool, and avoid inundating the wood with liquid. If necessary, use several of these so that you can get every speck of debris clear before you move on to the next step.
Refinishing Treatments
Stain: This is an optional process that involves brushing a coat of a liquid material onto the wood, which will slightly change the color of the material, enhancing it and bringing out the natural features of the surface. There are a number of stains available ranging from dark browns and cherry reds up to golden hues.
Protective Treatments
Once the wood is sanded down it will be completely vulnerable to stains, damage, gouges, and scratches. That means that you need to apply a treatment that can help to protect it from further damage, so you can maintain the brand-new look of the surface for as long as possible. Some products can also enhance the appearance of the flooring itself.
Cleaning the Dust
The vacuum attachments included in most power sanders will suck up the majority of the sawdust generated by the refinishing process. However, it is still important to sweep and/or vacuum the room thoroughly before proceeding. Afterward, a tack cloth, which is much like a cheesecloth, can be dampened slightly and run along the floors and walls. Don’t let any water pool, and avoid inundating the wood with liquid. If necessary, use several of these so that you can get every speck of debris clear before you move on to the next step.
Refinishing Treatments
Stain: This is an optional process that involves brushing a coat of a liquid material onto the wood, which will slightly change the color of the material, enhancing it and bringing out the natural features of the surface. There are a number of stains available ranging from dark browns and cherry reds up to golden hues.
3 REASONS WHY DUST A CONCERN...
When most people think of having their floors sanded the first thing that comes to their mind is all the dust. No doubt you’ve heard all the horror stories of people cleaning dust out of their homes weeks after the restoration has been finished.
REASON 1:
The Mess

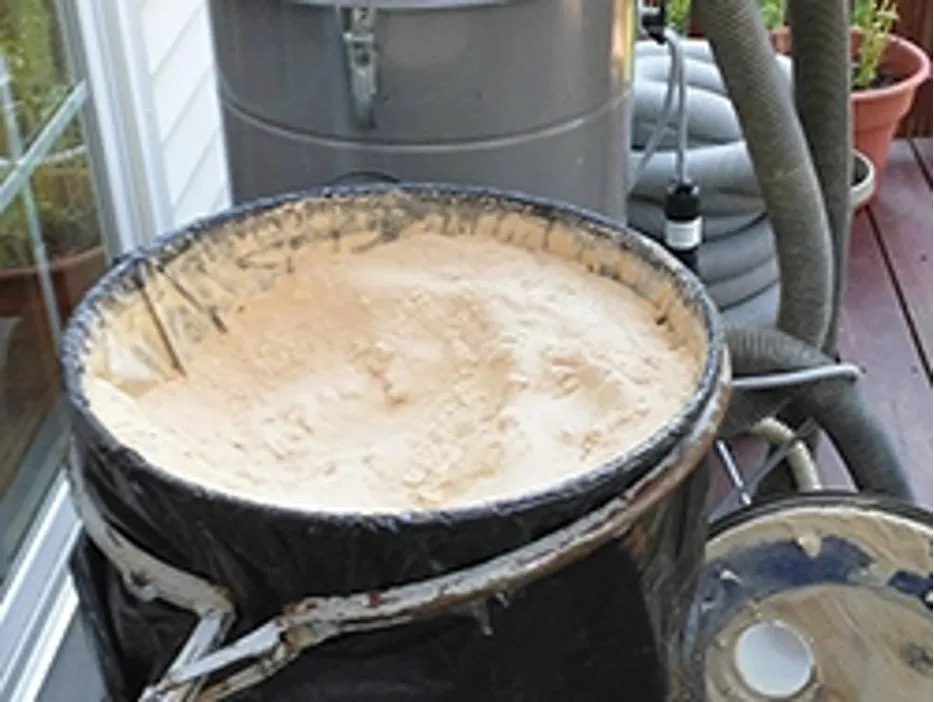
If not properly contained, super fine dust from the sanding machines can literally get everywhere – in your cupboards, light fixtures, ceiling fans, embedded into your curtains, all over your walls and into your ducting. Anything and anywhere that hasn’t been properly sealed off or covered will have a layer of dust all over it. How would you like to clean a mess like that up? Dust after a few of hours of sanding... this could be all through your home!
REASON 2:
It's Really Toxic

Another issue to be concerned about is the hazardous nature of wood floor dust. The first cut of the sanding process removes the existing finish. Most of these finishes have been applied decades ago and are very toxic. If you have an older house, who knows what chemicals are in that finish. Without proper dust containment, you, your family and your pets will be breathing all of those dangerous substances in.
REASON 3:
Contaminants in Finish

The final issue with dust is the quality of the last coat of finish. If your home is full of dust it’s guaranteed some of it WILL end up in the finish. That’s acceptable for the first few coats as it will be buffed out, but you don’t want in the final coat. Nothing is more annoying than paying thousands of dollars to restore your floors and then seeing and feeling lumps, bumps and debris on it.
¡Our Staff is perfectly trained!
CONTACT US
Sophisticated Flooring™ | Copyright ©2026 All rights reserved | Privacy Policy | Powered by Mudanza Digital


